Firestick remotes are designed to be durable, often lasting a long time before they die.
However, sometimes even after replacing the batteries sometimes, the remote might still not respond. It may be hardware fault although most often it only takes a few changes and a bit of cleaning up to get things working again!
In this post, I’ll shed some light on what causes this and what to do if your Firestick remote not working at all.
Why My Firestick Remote Is Not Working? (7 Reasons And Solutions)
Below are seven primary reasons your Firestick remote is not working:
1. Remote Disconnects (Especially After Changing Batteries)
Sometimes, the remote loses its connection with the Firestick device and all you need to do is reset your Firestick remote and connect it again.
Solution:
Step 1: Re-pair it by unplugging your Fire TV and waiting for a minute.
Step 2: Then, simultaneously press and hold the Left, Menu, and Back buttons for 12 seconds.
Step 3: Release them, remove the batteries from your remote, and wait.
Step 4: Re-insert the batteries after 60 seconds and press the Home button.
Step 5: Once the LED blinks blue, the remote has been paired.
Related article: How to Pair Firestick Remote Without WI-FI
2. Battery Drain Issues:
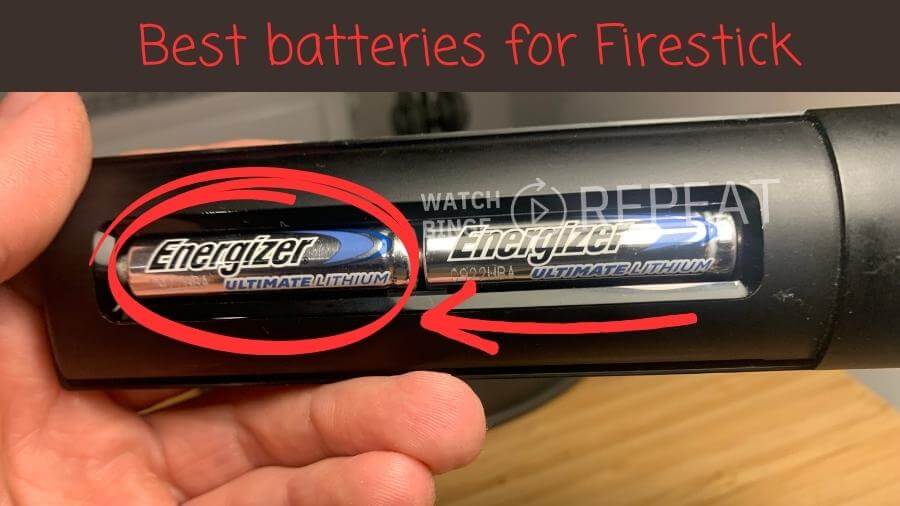
Some users have reported that their Firestick remote drains batteries quickly. Often, cheaper batteries don’t have longevity and they might not provide the consistent voltage required for optimal remote operation.
Solution:
If you’re experiencing this issue, try using high-quality batteries. I would recommend using lithium batteries (I’m using these). Simply because they provide high power output and long-lasting performance.
Insider Tip: Persistent issues might indicate a need for a remote replacement.
3. Wrong Battery Placement
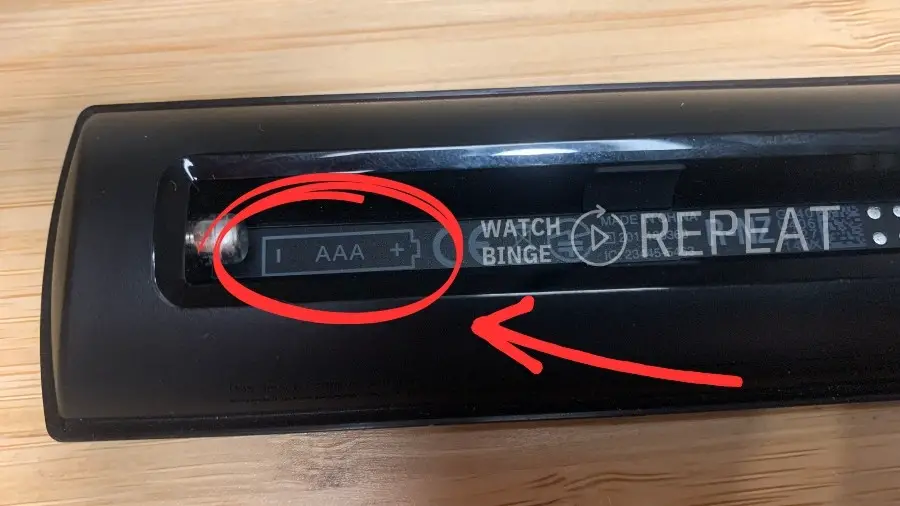
One of the common reasons your Firestick remote might not work is because the batteries inside it are put in the wrong way.
Batteries have a “+” sign on one end and a “-” sign on the other. Inside your remote, you’ll also see these signs.
Your remote needs the right energy flow to work. If the batteries are placed the wrong way, the energy can’t flow correctly, and the remote won’t turn on.
Solution:
Ensure batteries align with the correct positive and negative terminals
4. Dirty or Corroded Battery/Remote Terminals:
Inside your Firestick remote, where the batteries sit, there are small metal parts that touch the ends of the batteries. These metal parts are called terminals. Over time, dust, dirt, or even a little bit of moisture can gather on these terminals, which can stop the batteries from working properly.
When the terminals get dirty or corroded, they can’t connect well with the batteries. If they can’t connect well, the remote won’t get the power it needs to work.
Solution
Step 1: Open the Remote: Gently slide or pull off the back cover of your remote to see the batteries and the terminals.
Step 2: Remove the Batteries: Take out the batteries so you can see the terminals better.
Step 3: Clean the Terminals: Take a dry, soft cloth (like the one you use to clean your glasses or a piece of old T-shirt) and gently rub the terminals. This should remove most of the dust or dirt.
Step 4: Check for Moisture: If the inside of the battery area feels wet or looks shiny, it might be damp. This is not good! If you have it, you can use a tiny pack of silica gel (like the small packets you find in new shoes or bags) and leave it inside the battery compartment for a few hours. If you don’t have that, just leave the remote open in a dry place for a while.
Step 5: Place the Batteries Back: Once everything is clean and dry, put the batteries back, making sure they’re in the right way.
Step 6: Close the Remote: Put the back cover back on.
Now, give your remote a try. If the issue was dirty terminals, it should now work just fine!
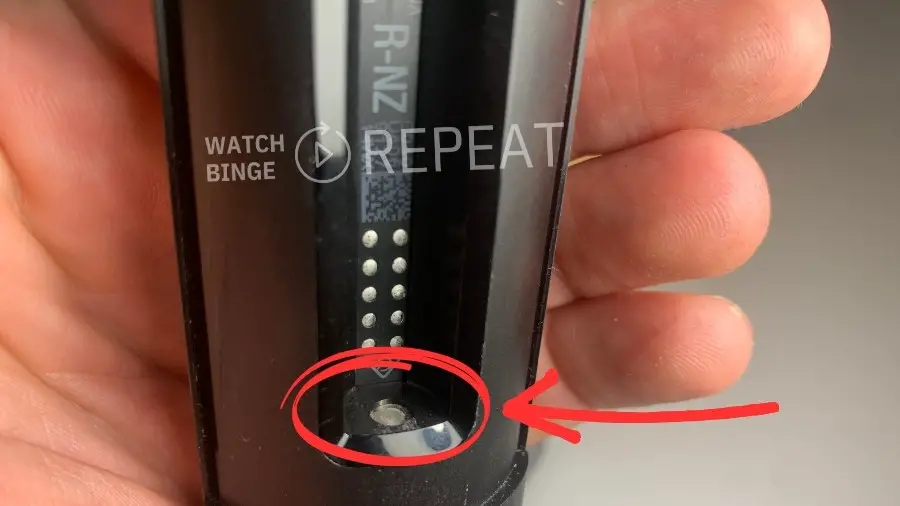
5. Damage To The Remote Sensor
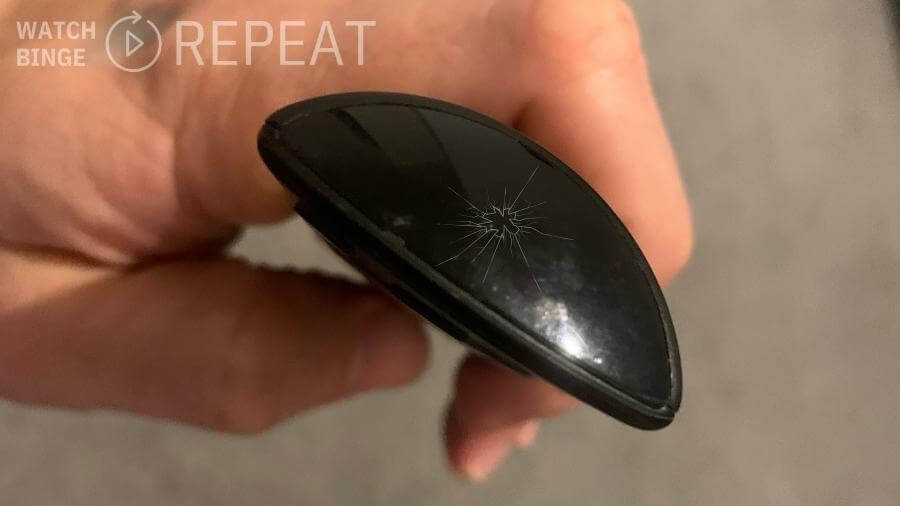
Your Firestick remote talks to your TV using a special kind of light called infrared rays. This light is invisible to our eyes, but it carries the commands from the remote to the TV, like “turn on” or “change the channel.”
Sometimes, the part of the remote that sends this infrared light can get damaged. If it’s damaged, it can’t send the signals to the TV, so, your remote won’t work even after replacing the batteries.
Most phone cameras can actually see this infrared light, even though our eyes can’t. So, you can use your phone to check if the sensor in your remote is working. Here’s how:
Solution
Step 1: Get Your Phone: Take out your smartphone and open the camera app.
Step 2: Point and Press: Point the camera at the tip of the Firestick remote – that’s where the infrared light comes from. While you’re pointing, press any button on the remote.
Step 3: Look for the Flash: On your phone’s screen, if the remote is working, you’ll see a tiny light flash from the tip of the remote each time you press a button.
If you see the flash this means your remote’s sensor is working fine, and the problem might be somewhere else.
If you can’t see the flash first, try cleaning the tip of the remote gently with a soft cloth. If you still don’t see the flash, then the sensor might be damaged.
If you’re sure the sensor is damaged there are 2 things that you can do:
- Consider Repair: Some electronic repair shops can fix remote sensors. Check with local shops to see if they can help.
- Think About Replacement: Sometimes, it might cost less to simply buy a new Firestick remote than to repair the old one.
6. Unresponsive Buttons
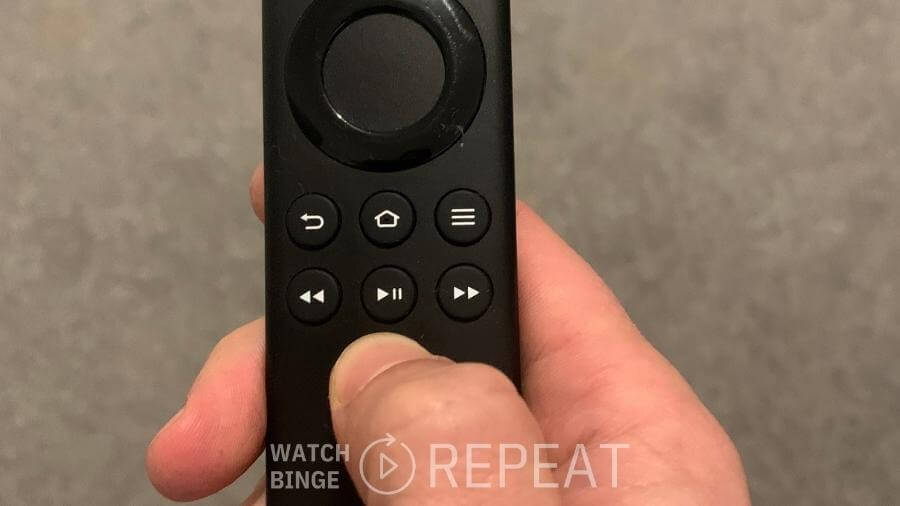
Behind each button on your remote is a tiny sensor. This sensor detects when you press the button and sends the signal to your TV. Over time, dirt, dust, and general wear can make these sensors less sensitive. If they can’t detect your button presses, then the remote can’t send signals to the TV.
Solution:
With a bit of careful cleaning, you can often get those buttons working like new again!
Step 1: Gather Supplies: You’ll need a soft eraser (like the ones used for pencil marks) or a cotton bud. Some people also use a little bit of rubbing alcohol on the cotton bud, but make sure it’s not too wet.
Step 2: Open the Remote: Carefully remove the back cover and the batteries. Look for screws or clips that hold the remote together. Once you’ve removed them, you should be able to see the inside of the remote.
Step 3: Identify the Sensors: Under each button, you’ll see a tiny circular or square sensor on a circuit board. This is what you’ll be cleaning.
Step 4: Gentle Cleaning: Very gently rub the soft eraser or the cotton bud over each sensor. You’re trying to remove any dirt or build-up that might be blocking the sensor. Be careful not to press too hard or you might damage them.
Step 5: Reassemble the Remote: Once you’ve cleaned all the sensors, put the remote back together. Make sure to replace any screws or clips you removed earlier.
Step 6: Test It Out: Put the batteries back in, and try out each button. You should notice they respond better than before!
7. Connection Overload – The 7-Device Limit
The Amazon FireStick is quite accommodating, allowing connections with multiple devices.
However, every good thing has a limit, and for the FireStick, that limit is seven.
This includes all Bluetooth devices, such as headphones, speakers, and of course, the remote controllers.
If you’re someone who loves to connect multiple devices, you might have hit this ceiling.
Solution
Follow These Steps to Manage Your Connected Devices:
Step 1: Start from Home: Navigate to the FireStick home screen. This is the main screen you see when you turn on your FireStick, where all your apps and options are displayed.
Step 2: Enter the Settings: On the top of the screen, you’ll see an option labeled ‘Settings’. It’s usually represented with a gear icon. Click on it.
Step 3: Dive into Controllers & Bluetooth Devices: This is where all your connected devices live. Here, you’ll see options like ‘Amazon Fire TV Remotes’, ‘Game Controllers’, and ‘Other Bluetooth Devices’. Clicking on any of these will show you a list of paired devices under that category.
Step 4: Time to Choose: From the list of connected devices, identify the one you use the least or that’s not essential. Once you’ve made your choice, select that device.
Step 5: Follow Onscreen Instructions: After selecting the device, you’ll be presented with an option to ‘unpair’ or ‘disconnect’. Follow the simple onscreen instructions to remove that device from your FireStick’s memory.
A Note on Pairing: Sometimes, technology can be a tad temperamental. If you’re trying to pair your remote and it’s not connecting on the first attempt, give it another shot. More often than not, it pairs up perfectly on the first go. However, every now and then, it might need an extra push, so 2 to 3 attempts could be necessary.
Alternative Solutions
Sometimes, despite trying everything things don’t work as they should. If you’ve walked through all the steps above and your Firestick remote still isn’t working there are some other routes you can explore:
The Handy Amazon Remote App:
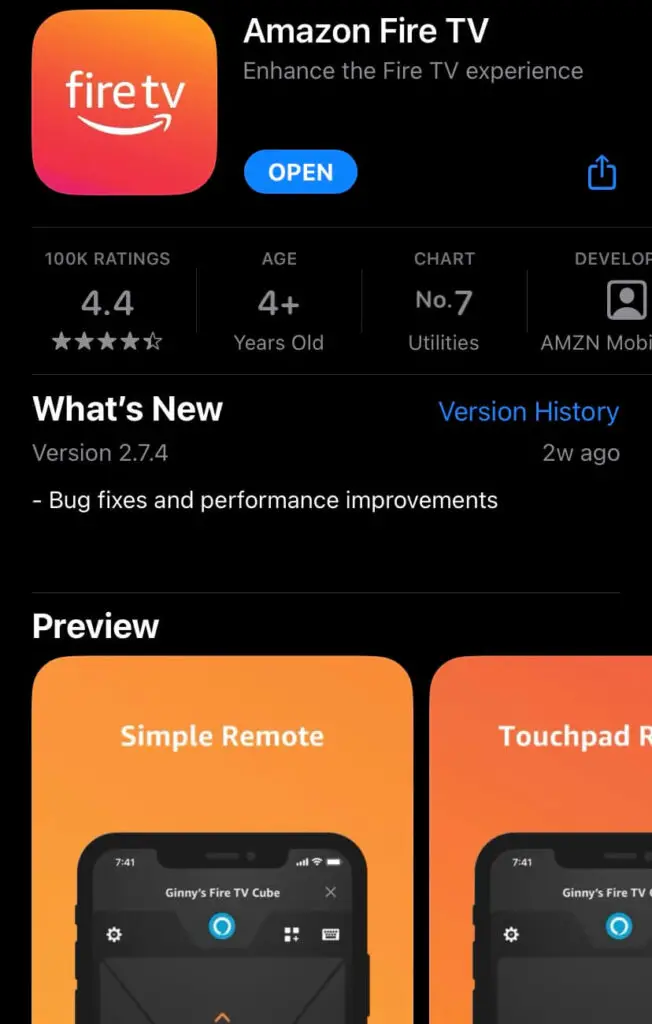
Modern problems require modern solutions! If your physical remote isn’t working, why not turn your smartphone into a remote?
Here’s how:
Step 1: Head to your phone’s app store, whether it’s Google Play for Android users or the Apple App Store for iOS users.
Step 2: Search for the “FireTV app” and download it.
Step 3: Make sure your TV and smartphone are connected to the same Wi-Fi network. This is essential for them to communicate.
Step 4: Open the app and follow the simple instructions. Soon, you’ll be controlling your FireTV straight from your phone!
Note: Mobile app is also handy when you can’t find your remote. However there’s a few more things you can do when you can’t find your remote.
Reaching Out to Amazon Support:
Amazon is renowned for its customer service. If you’ve tried everything and your remote isn’t cooperating, it might be time to get the experts involved.
How? Simply head to Amazon’s official website. Describe your problem, and they’ll guide you on the next steps. In some cases, if your remote is under warranty, they might even offer a replacement!
Buying a New Remote:

Sometimes, things are beyond repair, especially if they’re old. If your remote has seen better days and none of the above steps are helping, it might be time for an upgrade.
Investing in a new Firestick remote might save you the hassle of further troubleshooting. Plus, the newer versions often come with added features and improved responsiveness.
You may also be interested in: Best Firestick Remote With Numbers